
Tracking Camera and Animating in 3DS Max
- emersonharrop
- Mar 26, 2021
- 2 min read
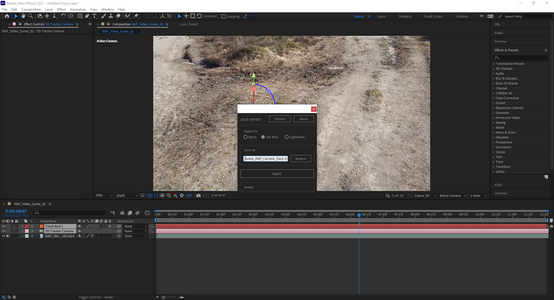
The first thing to do is to track the footage in After Effects then right click on one of the points and create a null and camera.


After creating the null and camera, run the export script, tick the circle to 3DS Max. Click where it says options and set the slider in the middle so it is at a 1 to 1 ratio the close the options menu. Then select the camera and null then click export.

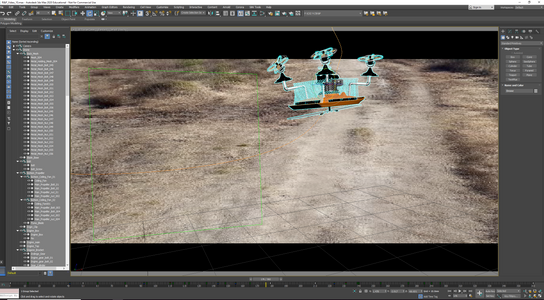
Open 3DS Max and then go to run script under the scripting the find and select the file that was exported from After Effects. Group the camera and the null the rotate them 90 degrees as when they are imported, they will be pointing down to the ground. Once the camera is sorted out, import the video into the viewport. To do this export the original video as a PNG sequence from After Effects and then in 3DS Max, open up the viewport settings, go to background, tick use files and animate background then find the exported PNG sequence and load it as a sequence then click apply to active viewport then O.K. The last thing to do is to open up the preference settings and tick the box that says update background while playing under the viewports tab. Once that is done, then start animating the object.
Once the animating has been finished, create a plane which and apply the shadow catcher to it then shape the plane so it fits the shape of the floor where the shadows will be projected to as seen in the image below.


Then set the lighting using either a HDRI or corona sun. I used a HDRI and attached it to an output to change the values on the curves and RGB Level to make the lighting and Shadow fit the video better.


Comments